 It’s almost time to start preparing your pumpkins for Halloween night! When selecting the perfect pumpkin this Halloween, look for pumpkins with flat bottoms, which won’t roll away. Also, a sturdy stem helps for carving and is a sign of a healthy pumpkin! Remember not to lift the pumpkin by its stem because this could damage the stem and make it age faster. As usual, discoloration and soft spots are unfavorable when it comes to picking great pumpkins!
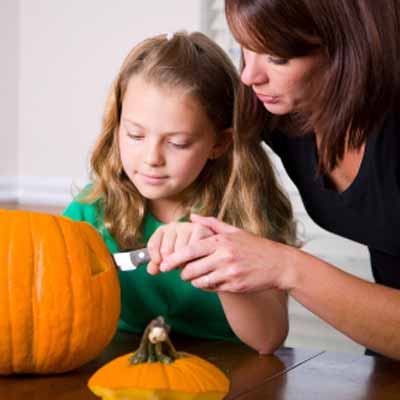
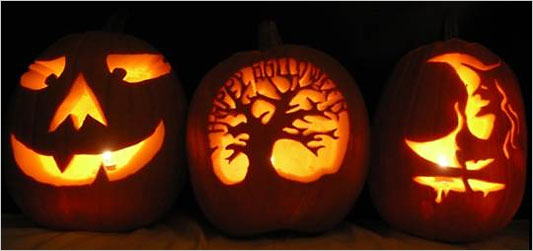
Once you have picked the perfect pumpkin, the opportunities to decorate are endless! Whether you decide to paint your pumpkin or to carve it, we have some tips to help this Halloween season! Before you carve your pumpkin, there are some preparations that must be done! First, cut off the lid of the pumpkin by angling the edge of the saw or knife (this prevents the lid from falling in). The next step is to remove all the ‘guts,’ seeds, and strings from the pumpkin. Scrape down the inside of the pumpkin with a scraper, leaving the front of the pumpkin about an inch thick—perfect for carving! Now that the preparation is over, you are ready to start carving!
 When carving your pumpkin, there are special tools that can make a big difference in detail! Pumpkin saws, drills, scrapers, knives, and pins are all tools that can help in the carving process. Saws of different lengths and teeth spacing determine how well they will work for tight areas. Small saws with short teeth and ideal for high detail designs! Scrapers are great to make the back wall of the pumpkin smooth—this is where the reflected light comes from. Lastly, pokers are used to transfer your desired pattern onto your pumpkin; these make the carving process a lot easier! Remember to saw slowly and gently for safety and best results!
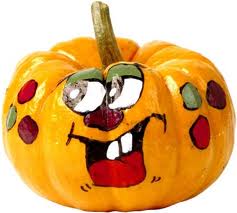
 For those experimenting with painting their pumpkins, here are some helpful hints! Clean your pumpkin well with a damp paper towel and dry it well. For best painting results, paint the whole pumpkin first with multi-purpose sealer and let it dry (usually takes a couple of hours to dry completely). After you have the first coat, you are ready to create your masterpiece! Draw a face or pattern onto your prepared pumpkin with a permanent marker to start. You can also try using different techniques such as using masking tape to create unique designs! Paint your pumpkin using a wide, soft brush. Wait until the first coat dries before starting the second coat of paint.
The last step in either process is to proudly display your completed pumpkin—have fun!